Python testing (pt 1)
As someone who is a big fan of Behaviour Driven Development (BDD) and Test-Driven Development (TDD) for robust and context specific development, I really need to ensure I am comfortable with a python test framework that I can have in my tool belt.
I started using Nose and Unittest initially but for me, Pytest’s simplicity and syntax is preferable. Considering that Pytest can detect and execute tests from these other frameworks anyway, there is not much to lose by me choosing Pytest at this time.
Pytest is pretty straight forward; import it, create a test function, add an assert statement.
import pytest

def test_simple_operator():
    assert a < b
Then run pytest from the command line.
$ pytest
I want to get practicing at writing little tests, writing a little pseudo code, fleshing it out with real code, then repeating the process in a way that is similar to the ‘red, green, refactor’ mantra. I do not know what my rhythm is with this process yet, so I’m keeping it loose until I get a natural flow.
Before jumping into a test-driven development of my game, I wanted to get more familiar with the Pytest framework. A short while ago, Zed reviewed a small script I had written as part of Learn Code Live Refactor School. It was a simple script to work out how much Value-Added Tax (VAT) I pay on each business receipt.
I won’t go into script code which can be found here, or Refactor School other than to say it was a lot of fun! But as I need some more Pytest practice and also want to add some unit tests to my script to ensure my math and logic is correct and maintained as the script evolves.
So what did I do wrong?
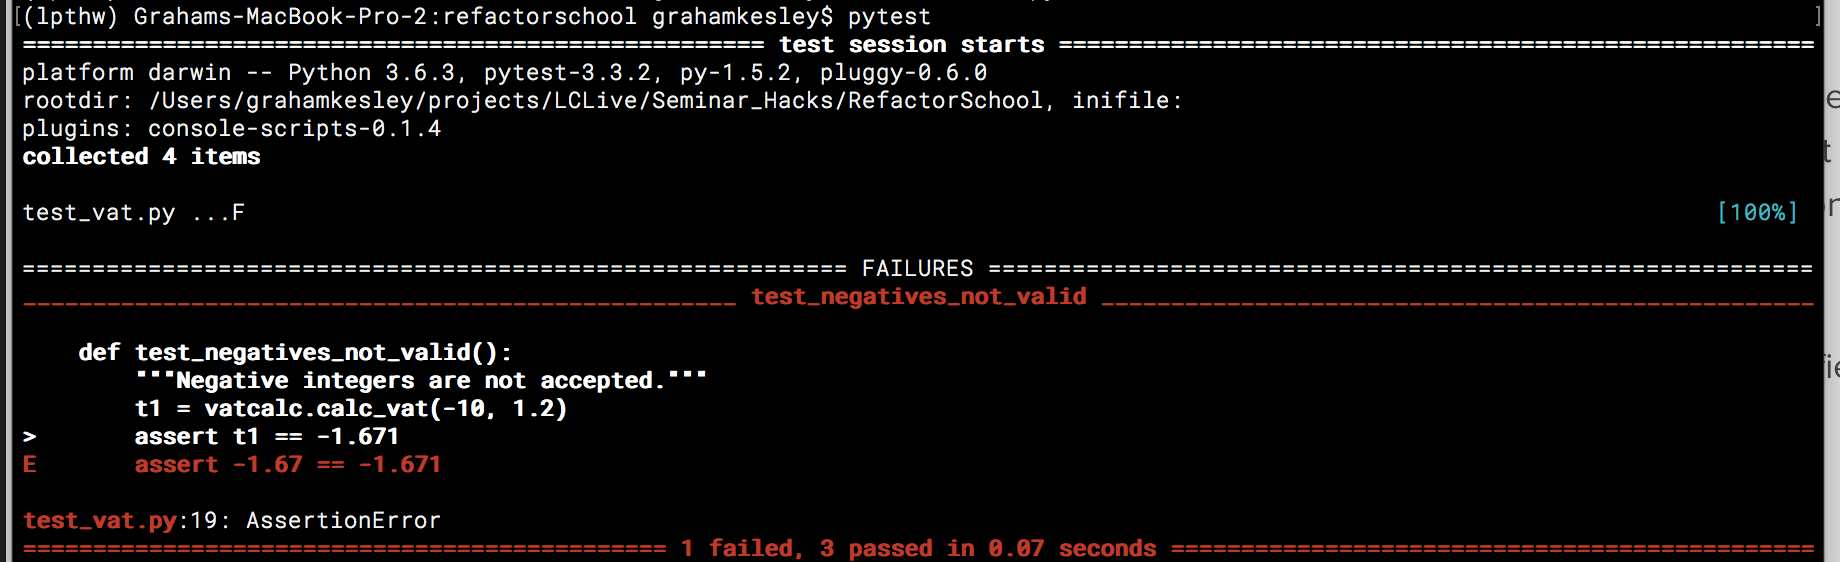
When I mentioned Pytest’s simplicity, one of the best features is the test execution report. Details are very clear and if you have a colour terminal, red and green labelling are applied for fails and passes respectively. Pytest really does go a long way to tell you what went wrong, even providing visual clues to the offending item. Here, my assertion value was incorrect and did not match the result generate by the script.
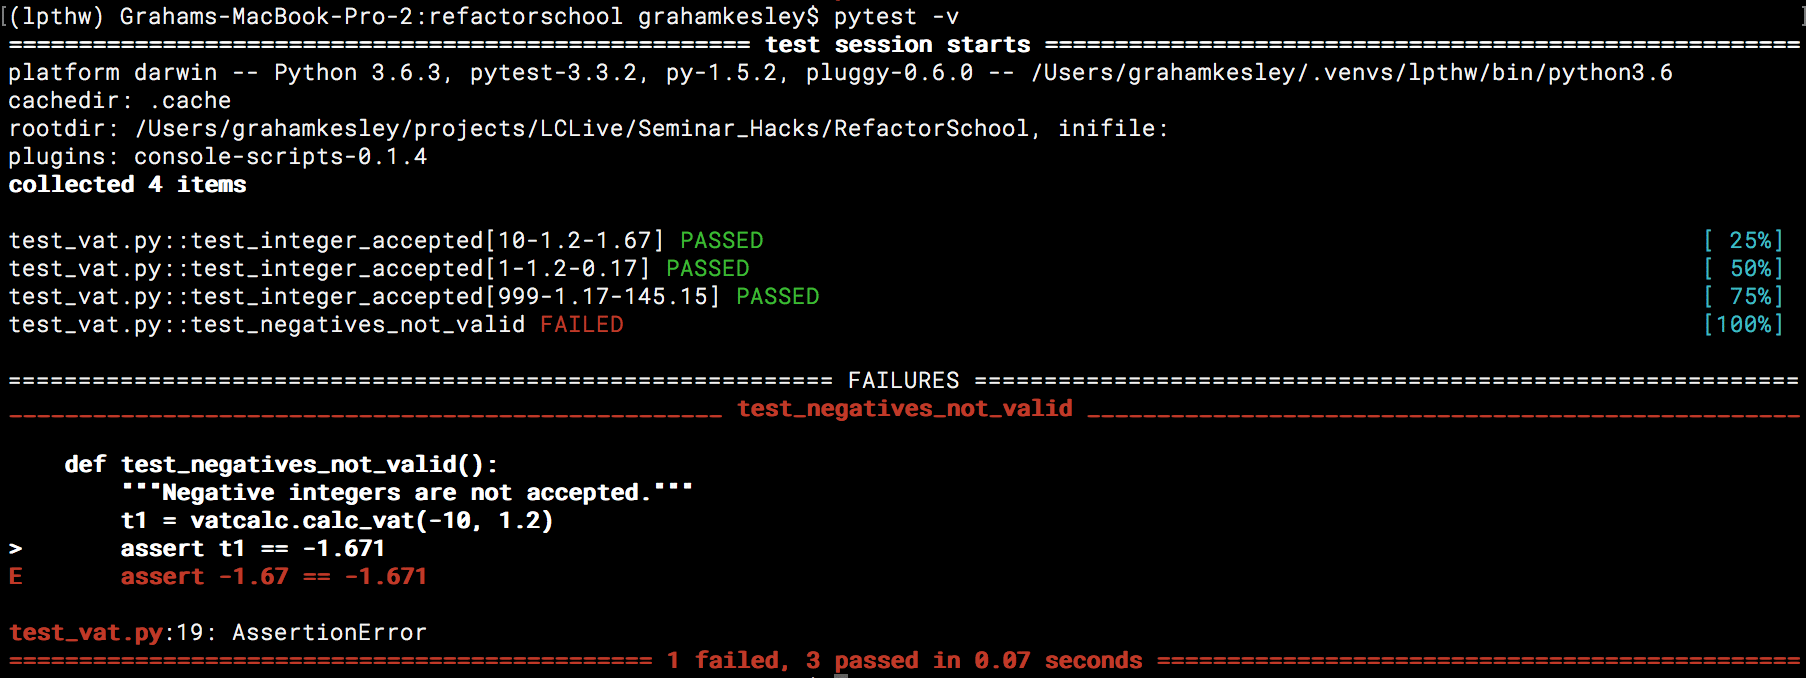
At times you need to see more details and know which specific tests were problematic. Here you can apply the verbose argument to see more granular results of each test executed:
$ pytest -v
Other times, you might just want to see a summary without the trace-back details from any failures. Here you can turn the trace-back off. Now each test is represented by a ‘.’ and failures marked with ‘F’:
$ pytest --tb=no

Marks and keywords
One of the things I really like with Pytest is adding marks that can be used for selective test execution. My little script doesn’t really need them, but from experience I know how quickly a test suite can grow, with execution times becoming extensive, even prohibitive, when subsets of tests cannot be run independently.
In Pytest, it is a simple as adding a decorator (@pytest.mark) with a user defined identifier. Here I am using regression as my identifier:
@pytest.mark.regression
When I run my test suite from the command line, I can tell Pytest to only collect and run tests marked with the regression keyword, just by adding the keyword argument and an expression:
$ pytest -k regression
Keywords are really neat and can be combined using the usual expressions. So for example, if I had marked groups of tests as regression, negative, conversion and rounding, I could call:
$ pytest -k 'regression or rounding'
This would call tests from both subsets. Neat.
Parameters
One of the major benefits of automated testing (or ‘checking’ as it has become popular to reference), is the iteration of test data sets within a test function.
In my VAT Calculator this is essential. Even though the calculation is quite simple, there is always opportunity for error when user input is the data source.
Pytest has a great function parametrize that enables parameters to be supplied to test arguments. Within Pytest there are many flexible ways to approach this task, but essentially, each set of parameters are then executed as a test iteration.
The syntax is beautifully simple, using arguments and lists that easily equate to a test matrix or column/row table:
 @pytest.mark.parametrize('receipt_value, vat_rate, result',
    [(10, 1.2, 1.67),
     (1, 1.2, 0.17),
     (999, 1.17, 145.15),
    ])
So my first test parenthesised in the list, uses:
- receipt_value of 10
- vat_rate of 1.2
- expects a result of 1.67
The second test parenthesised in the list uses:
- receipt_value of 1
- vat_rate also 1.2
- result of 0.17.
The pattern soon becomes very obvious and readable.
This decorator sits above the test definition it provides too. I want to check that integers are accepted as inputs as I use Python’s float function in my script. This could be an area of risk in the calculation process:
 @pytest.mark.parametrize('receipt_value, vat_rate, result',
    [(10, 1.2, 1.67),
     (1, 1.2, 0.17),
     (999, 1.17, 145.15),
    ])
def test_integer_accepted(receipt_value, vat_rate, result):
    """Ensures a simple integer is handled."""
    t1 = vatcalc.calc_vat(receipt_value, vat_rate)
    assert t1 == result
The arguments I identified in my parametrize decorator, are supplied to the arguments of the test. They can then be used in the body of the test to set values and compare the result provided by my script to my expected result.
When I run this test verbosely, I see the results of each test iteration with the test data values displayed:
$ pytest -v
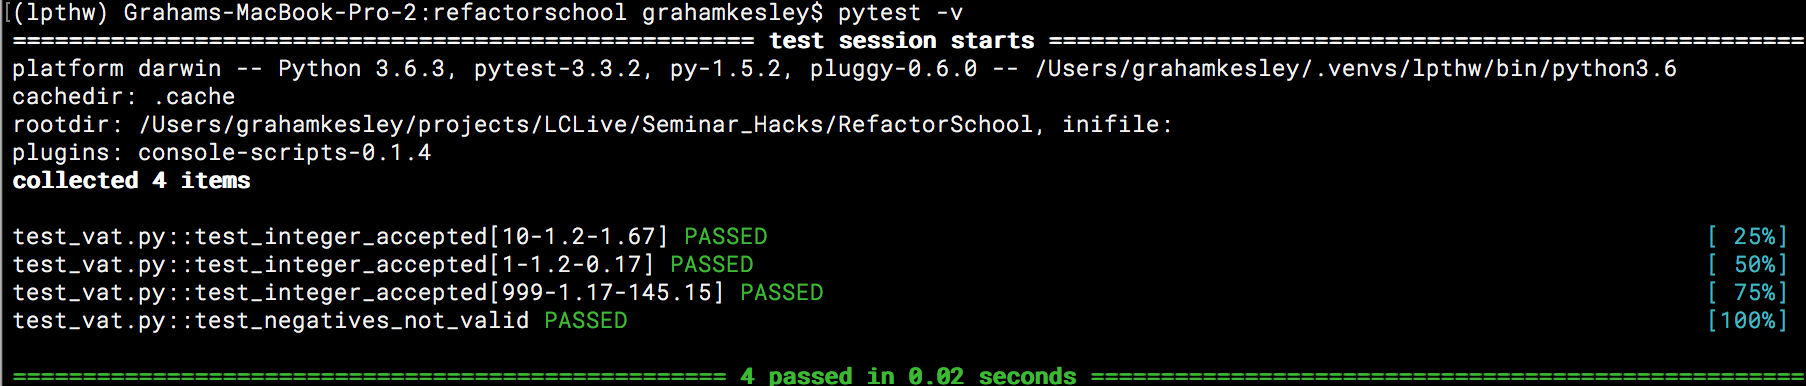
Cool. This is going to be really useful going forward when I need to build tests around my game engine and valid navigational paths.
This isn’t even scratching the surface of what Pytest can do, so I’ll keep reviewing the software and enhancing my VAT Calculator script as I go.